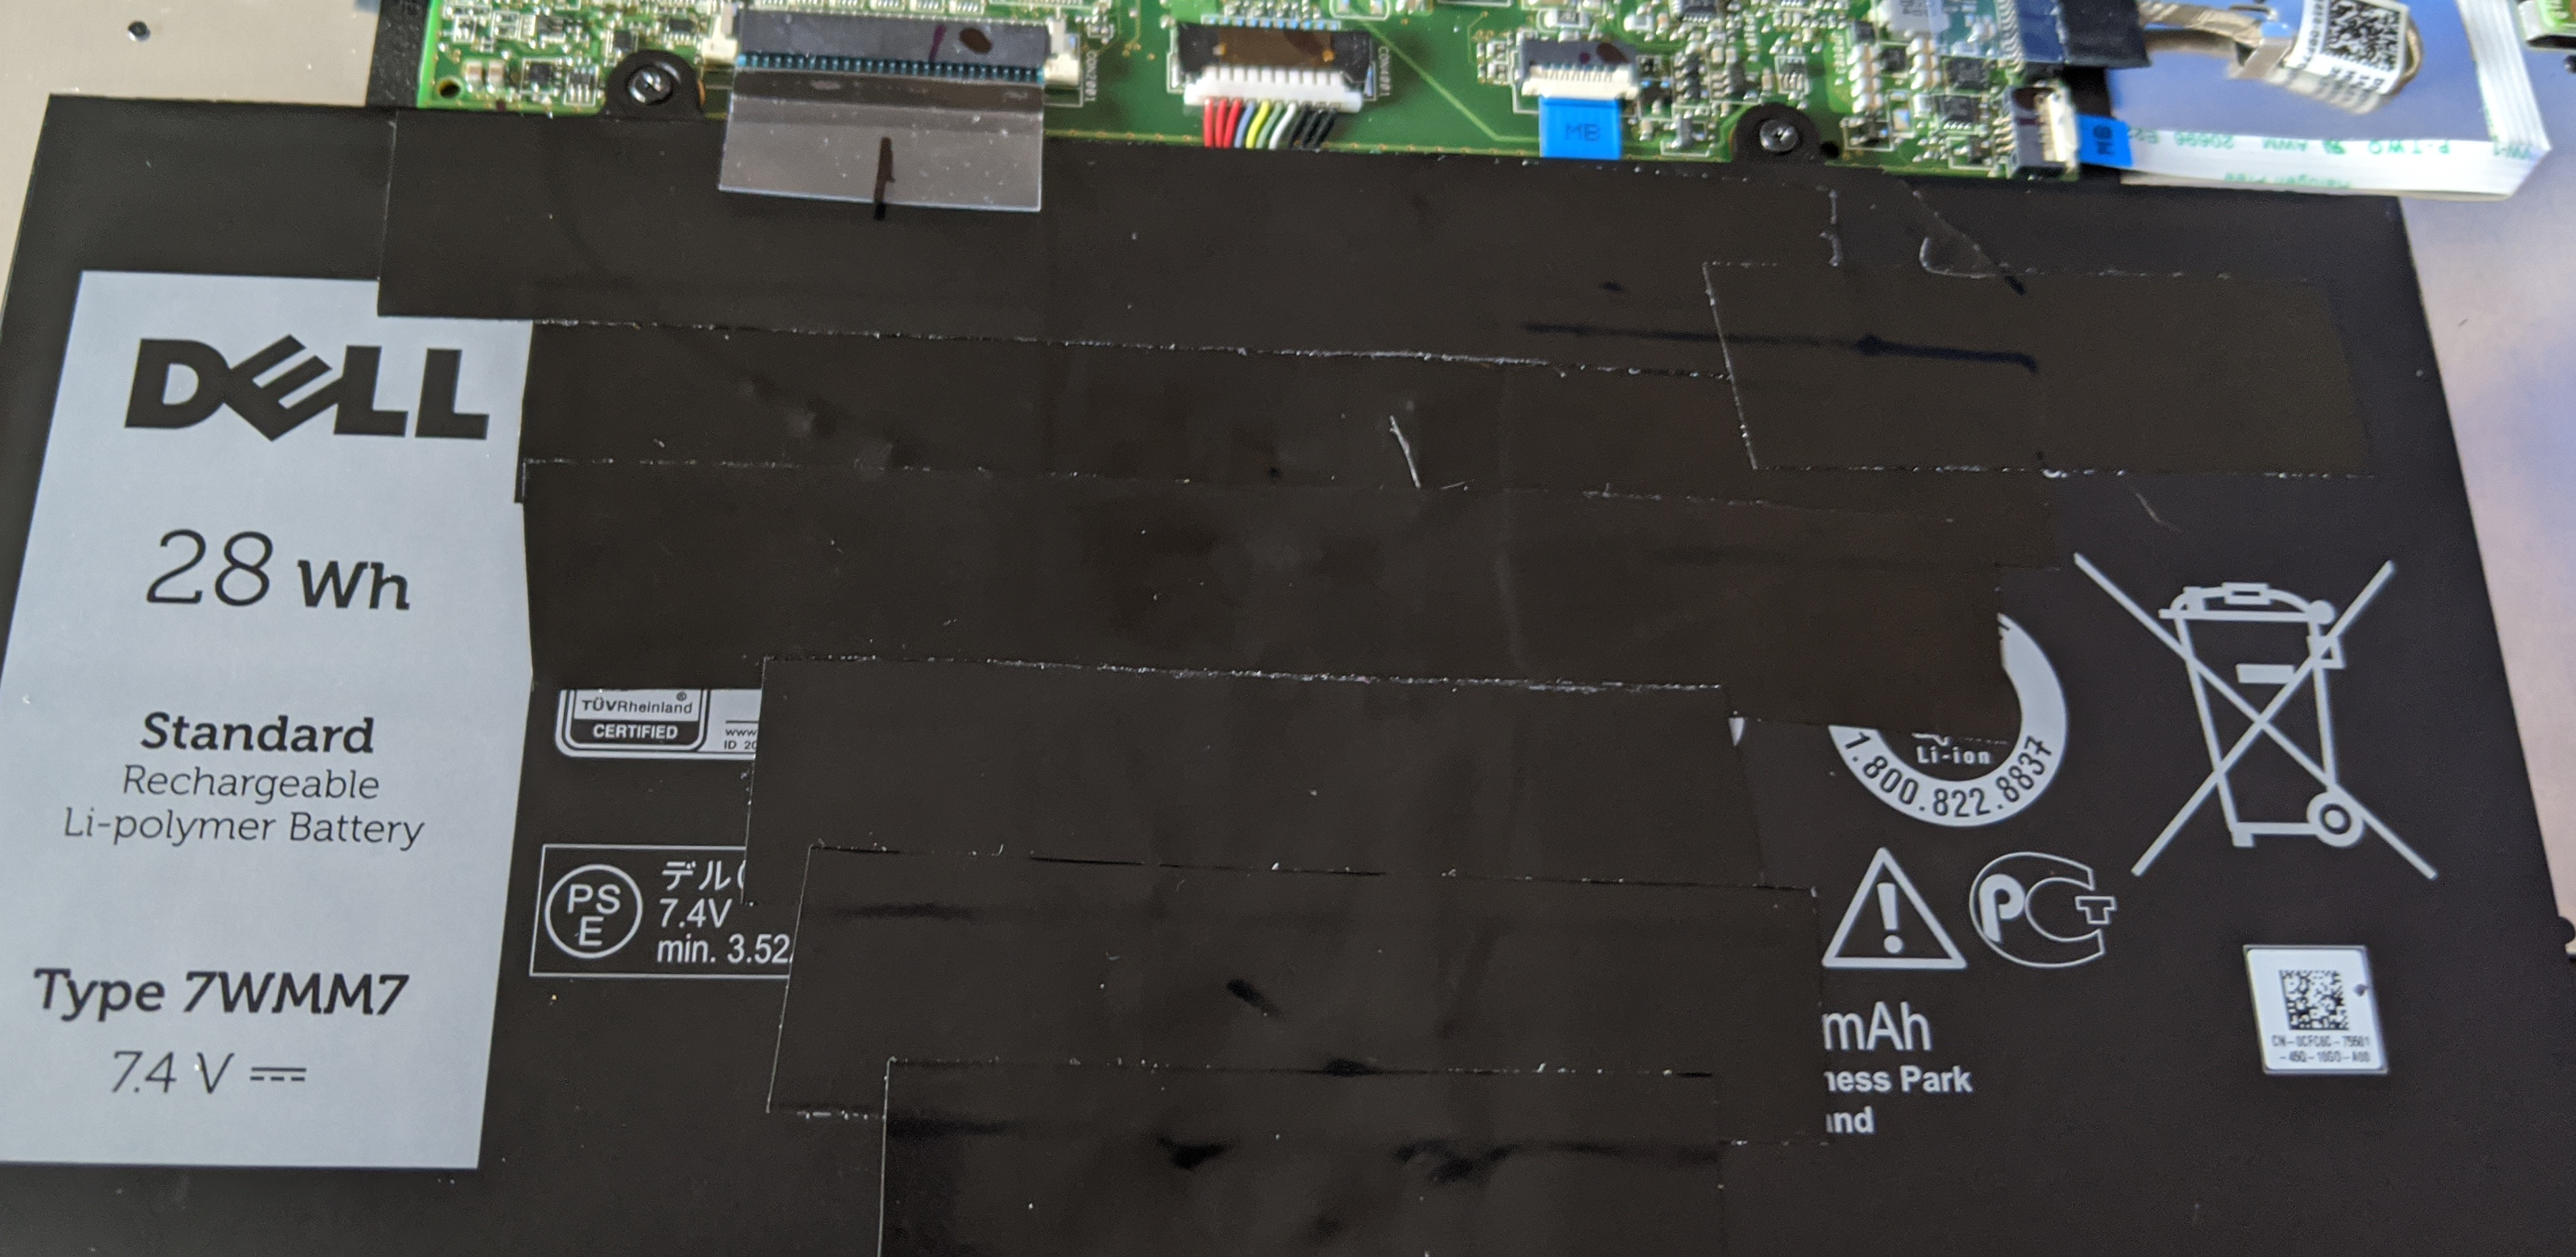
There is an excellent Travel Keyboard available for the Dell Venue 11 Pro tablet computer that I use (I have 2), which new costs about £200 however you can occasionally pick them up on ebay for much less, such as the deal I picked up last week for £29, for a refurbished one, listed with No Battery. Now what I took a chance on is that the seller is listing no battery because when connected to a tablet, the tablet reports there is no battery, due to a design flaw by Dell, where these keyboards have some kind of fault in them which allows the Lithium Battery Slice to discharge to such a low level that the protection circuitry kicks in disconnecting the battery, and preventing them being recharged.
Dell are aware of the problem and provide a page (here) detailing charging using the on-board Micro USB instead of through the normal method of charging from the tablet when connected, whereby you leave it charging for 30 minutes to jump start the system, and then reconnect to the tablet and fully charge normally. This doesnt however always work, often they have discharged below even the threshold that will allow this to revive the laptop.
The official advice at that stage is to send the Travel Keyboard to a Dell Service Center, who may repair, replace the battery or sell you a new keyboard.
That seemed like an expensive waste of time, so I decided to have a look and see if it was fixable. It is, and heres how to do it.
Unscrew the 4 screws, one under each end of the 2 rubber strips on the base of the keyboard.
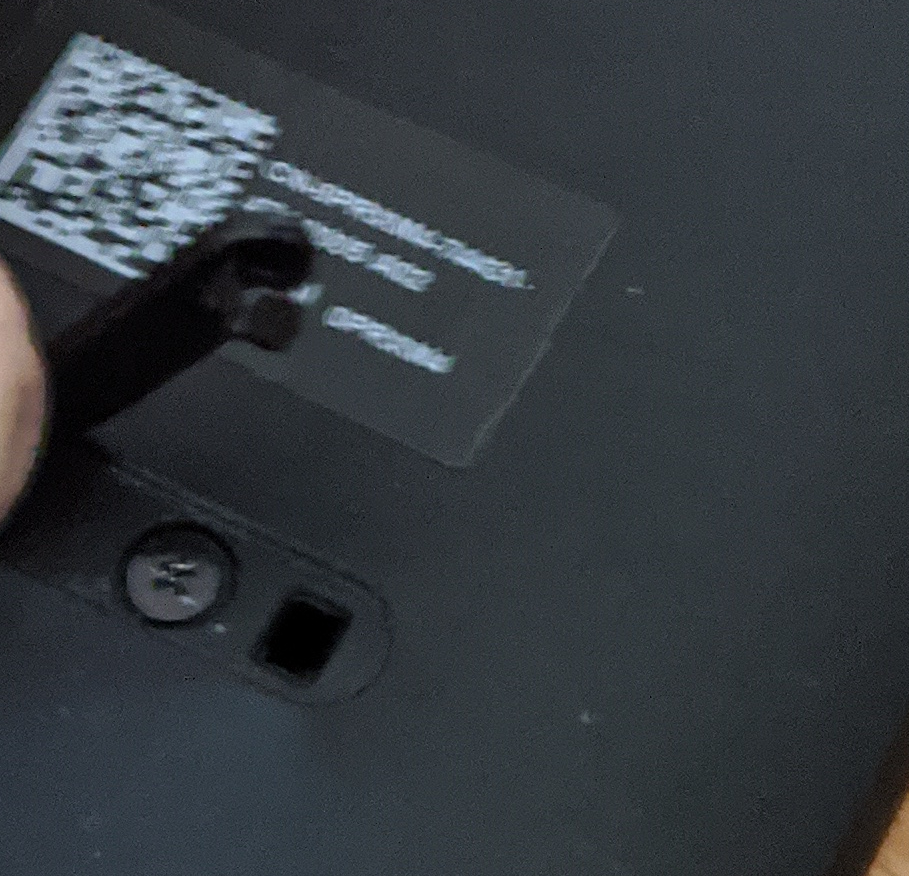
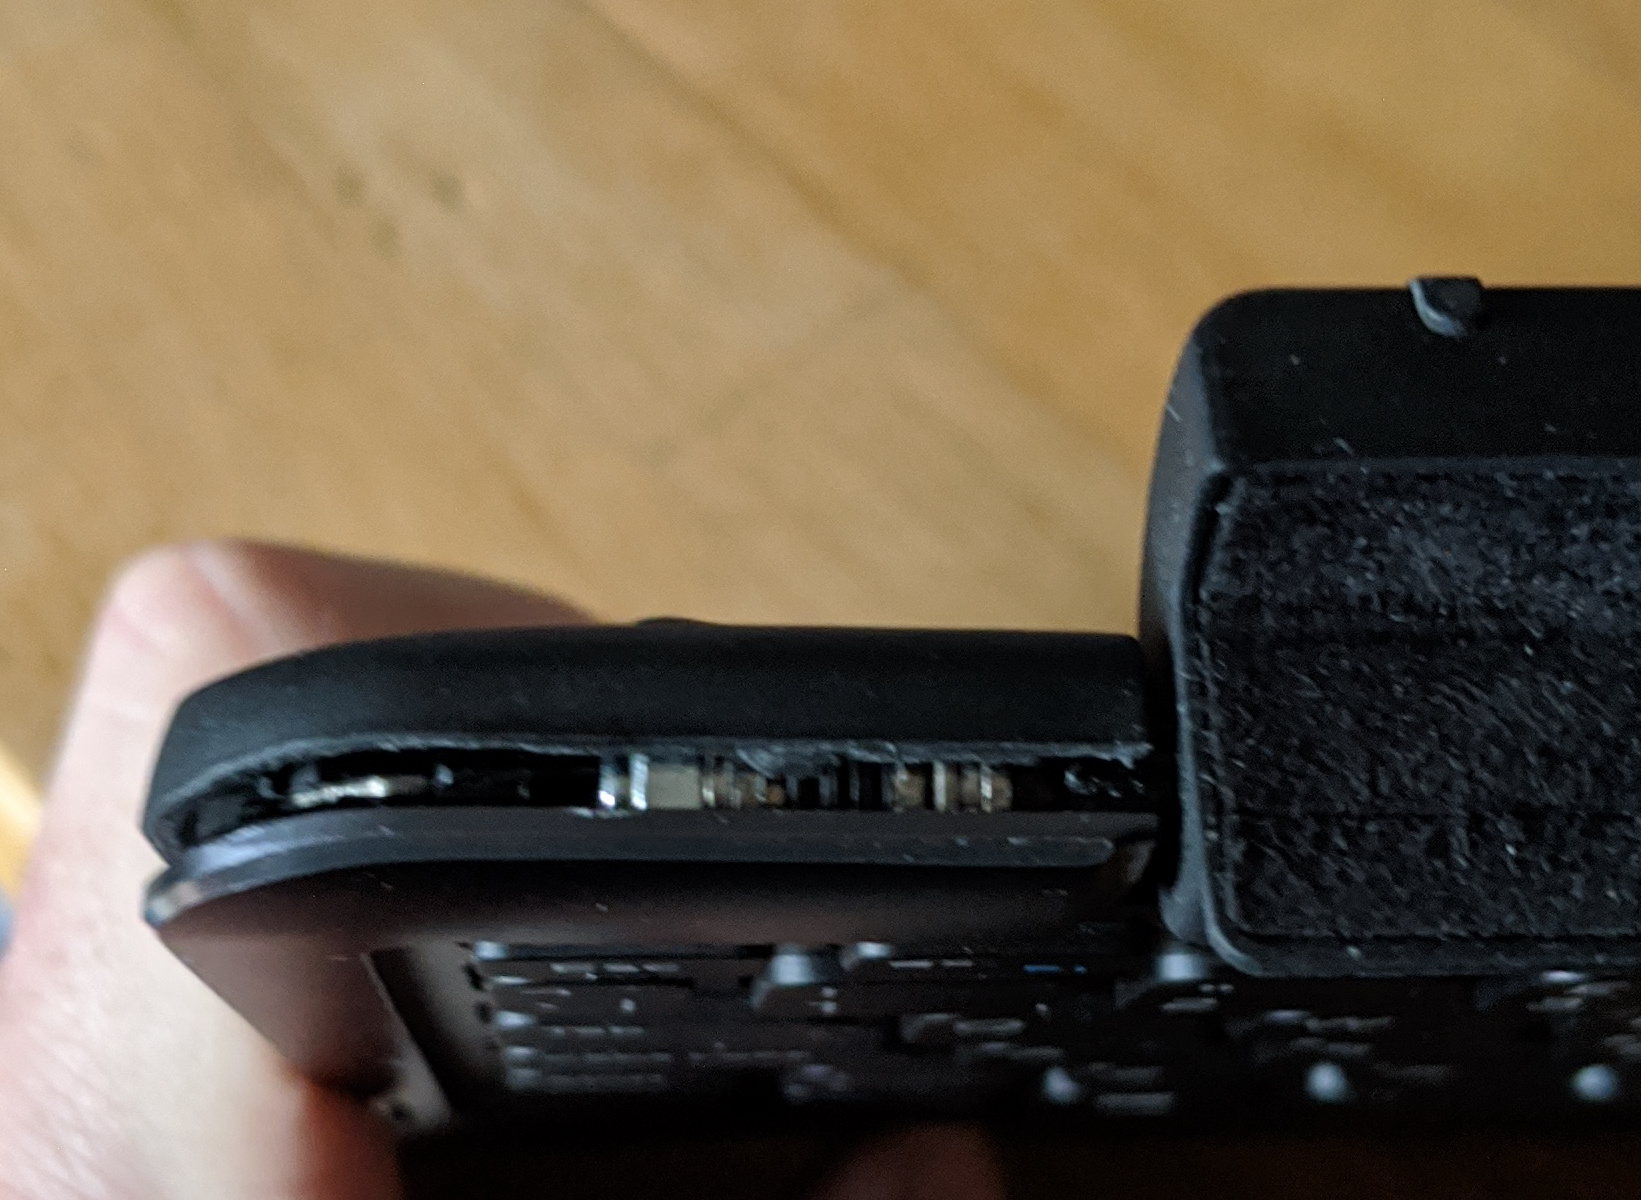
Starting to the left or right of the hinge, gently pry open the keyboard, continue all the way round.
Once inside youll see the battery at the bottom of the device, its actually 4 cells, 2 in parallel doubling capacity and 2 in series doubling voltage to create the 7.4V battery. The parallel pairs are labelled yellow and green in this picture. You should start by disconnecting the battery from the device, by pulling the connector marked in pink gently straight down to disconnect it. At this stage you can undo the screws (marked orange) and remove the battery from the keyboard in case it decides to explode during charging in which case at least you’ve not ruined your keyboard.
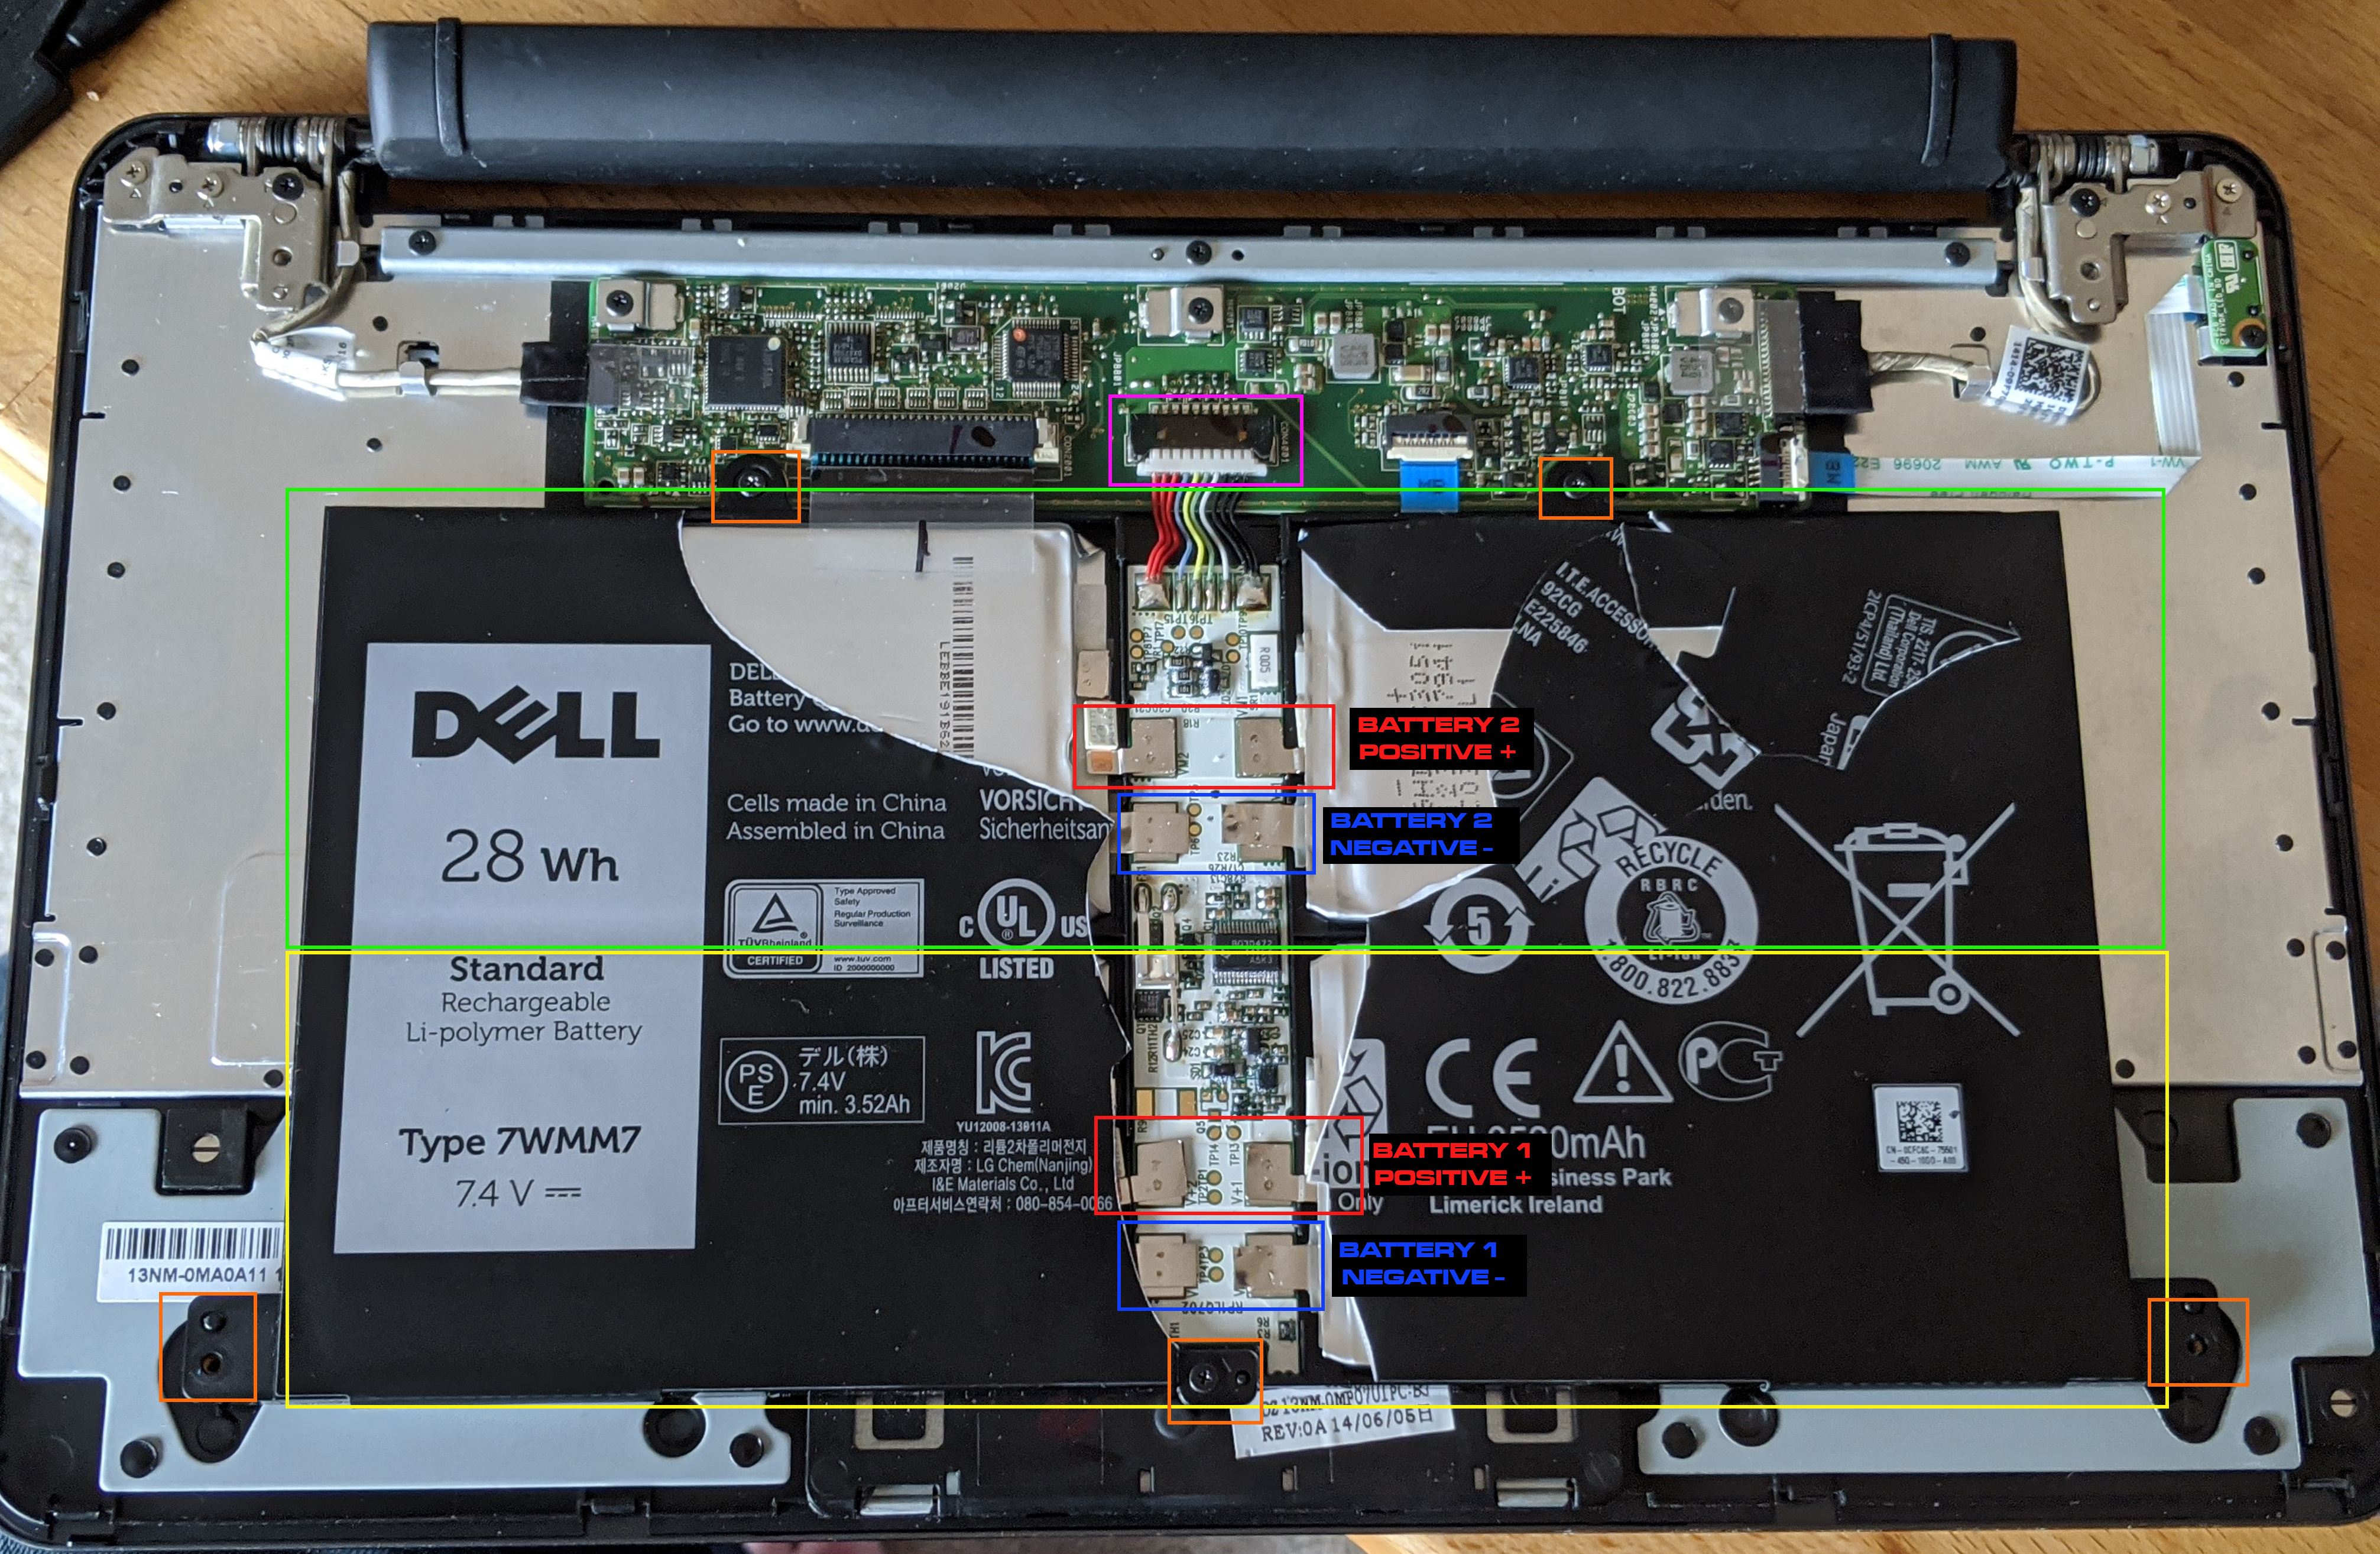
The key is to charge the 2 pairs of cells separately (so yellow first, then green), until they are around the 3V mark, which is enough for the onboard charging circuitry to start working. To do this I used a 3.7V lithium ion battery charger for some garden lights, which I cut the end off and fitted with crocodile clips. Since I didnt know where the contacts were for the cells, I tore off the protective plastic to get a good look at the board and the connections. In future if I was doing this again I could use my image here as a guide, and feel through the plastic to find the correct pads, then id just fit a pin to each electrode and poke them through leaving small holes and a much neater job. You should only need to hold them in place for 10 seconds or so to get the voltage back to an acceptable level.
I either bent the pad as shown in the first image, or clipped onto an edge (being careful NOT to short circuit anything with the exposed parts of the croc clips) as shown in the second and then let the pair charger for 20 seconds, which jumped the voltage up to ~3V.
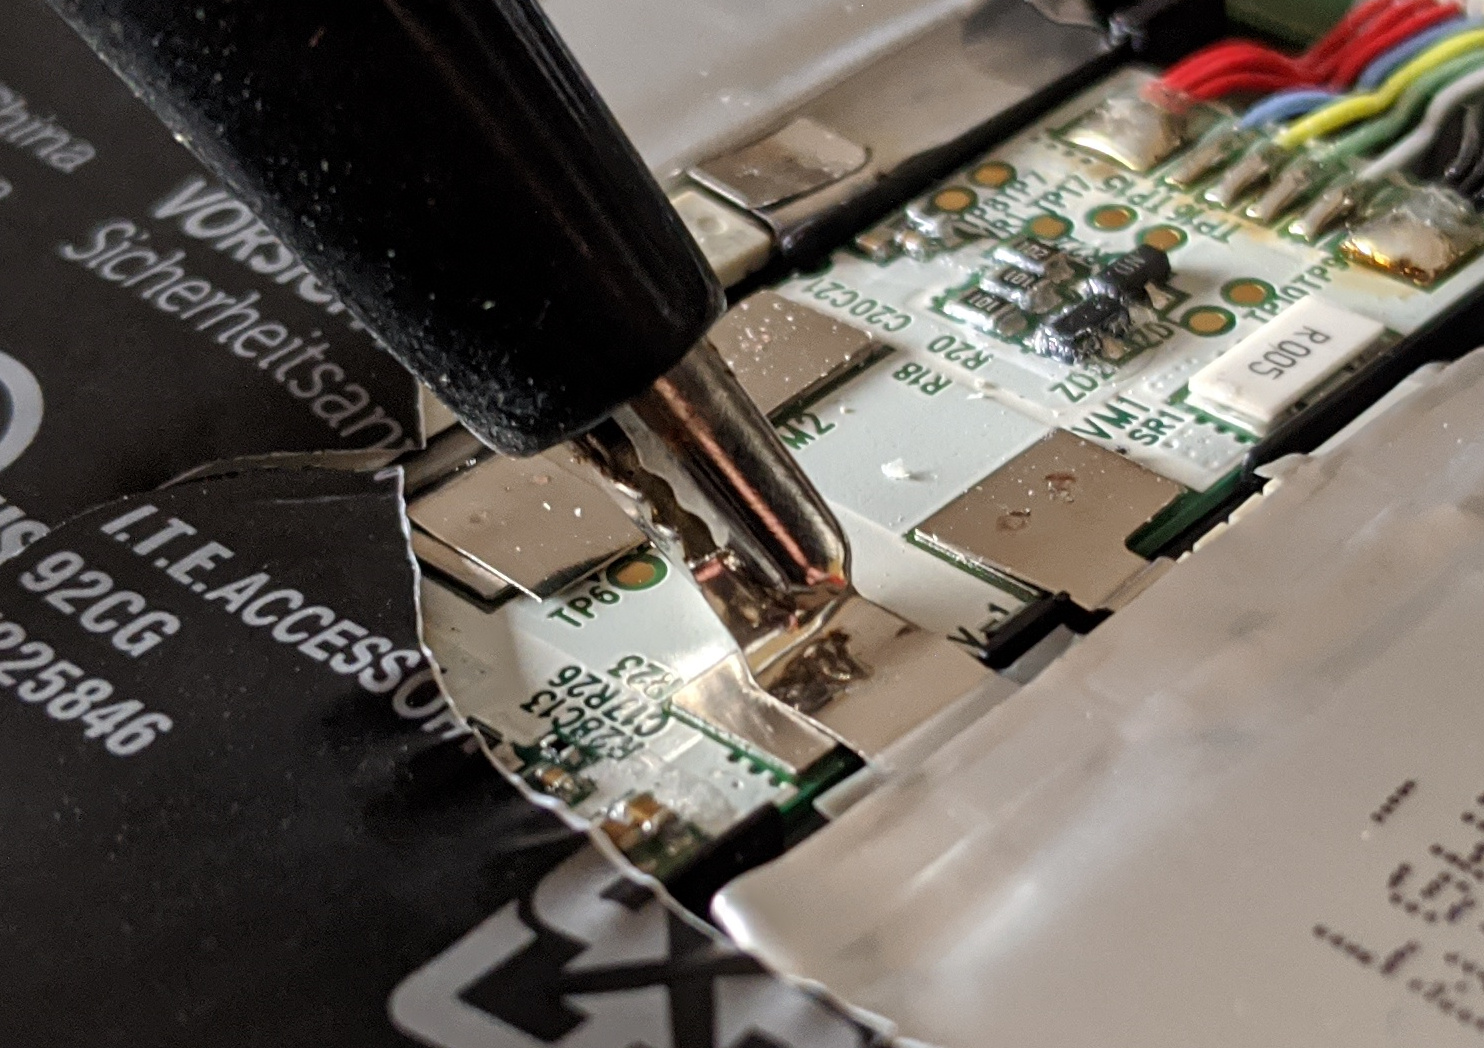
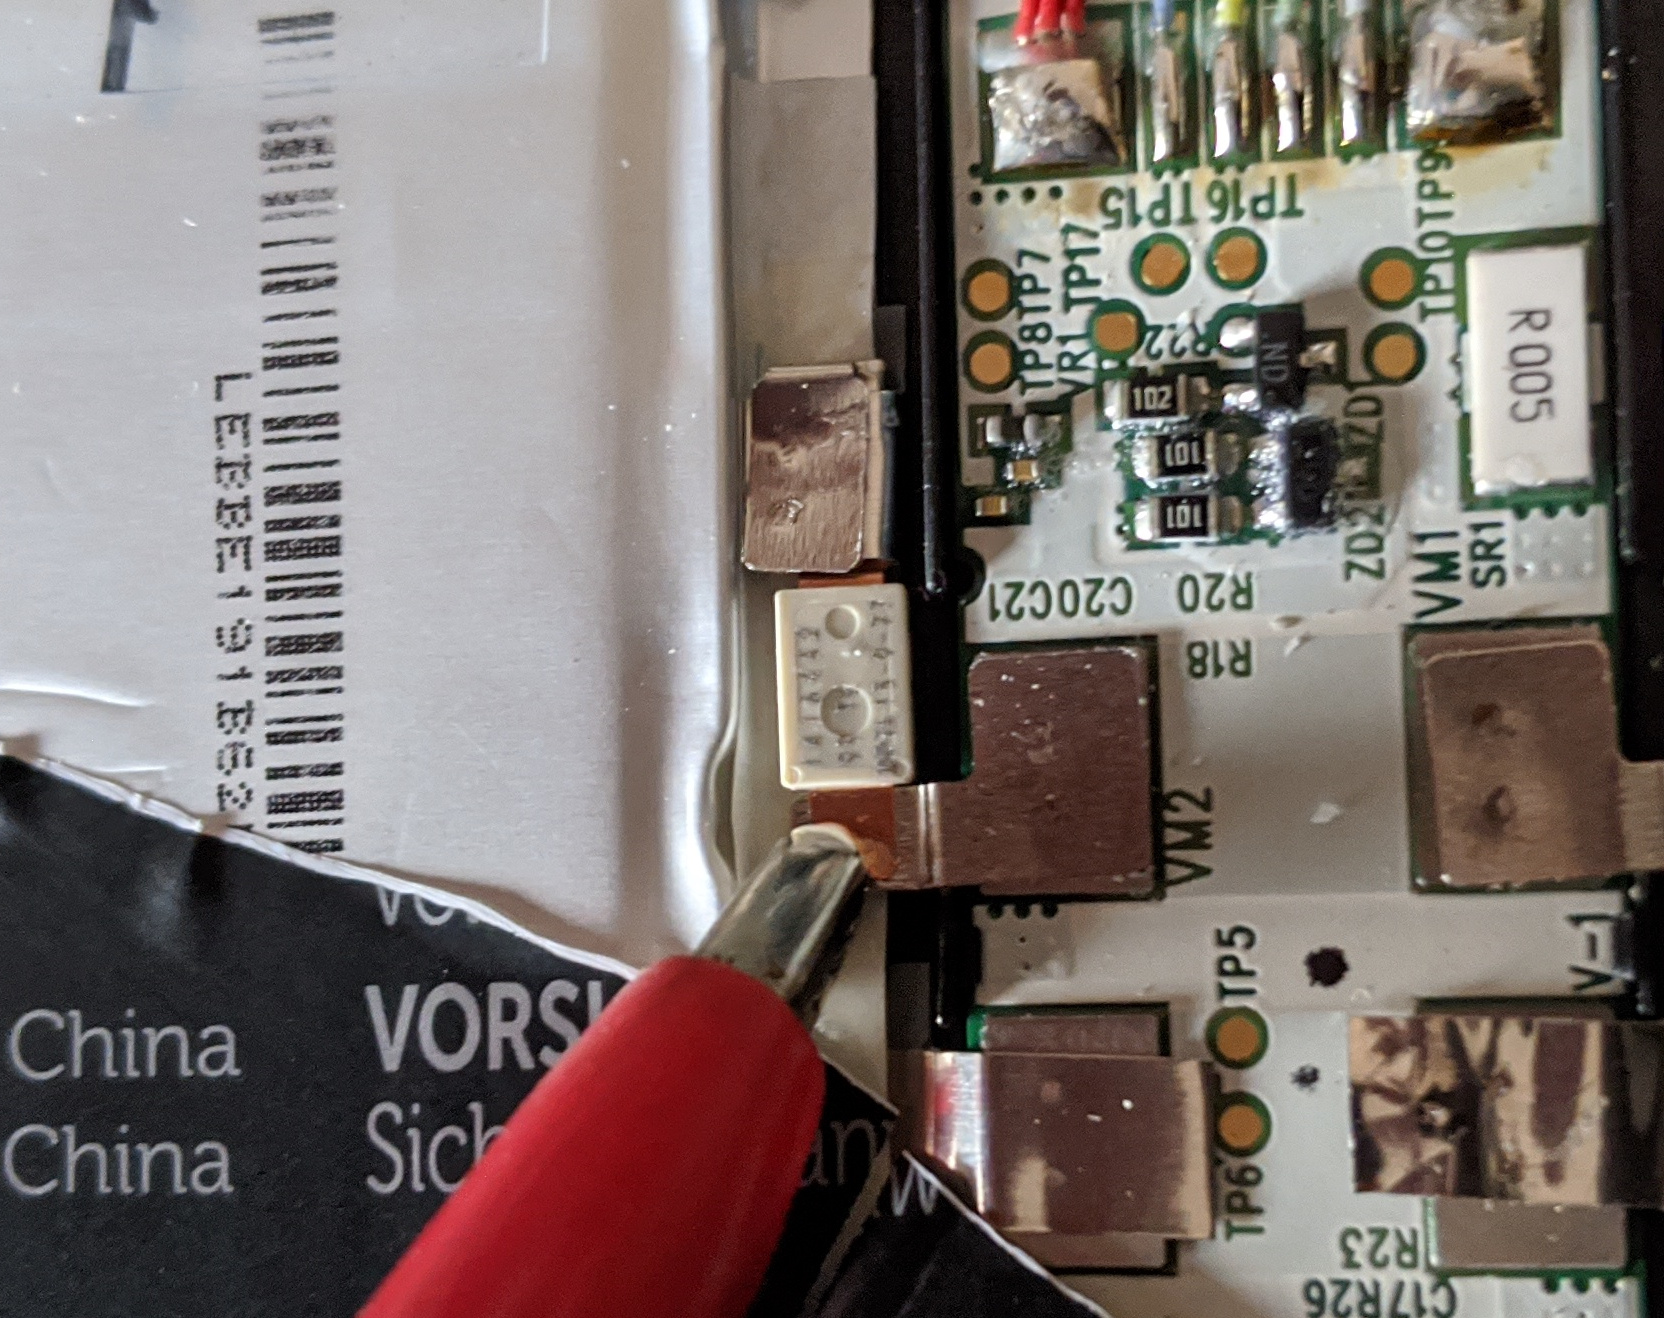
- After doing this on both cells and using a meter to check that they were both around 3V, I taped up the pack and put it all back together before connecting to the tablet, and attempting to charge. The tablet found the second battery immediately, and happily charged it to 100%, a quick look in the Dell Boot Diagnostics shows the health of the battery slice as 89%, which is better than the battery in my tablet.